
Showing posts with label how to. Show all posts
Showing posts with label how to. Show all posts
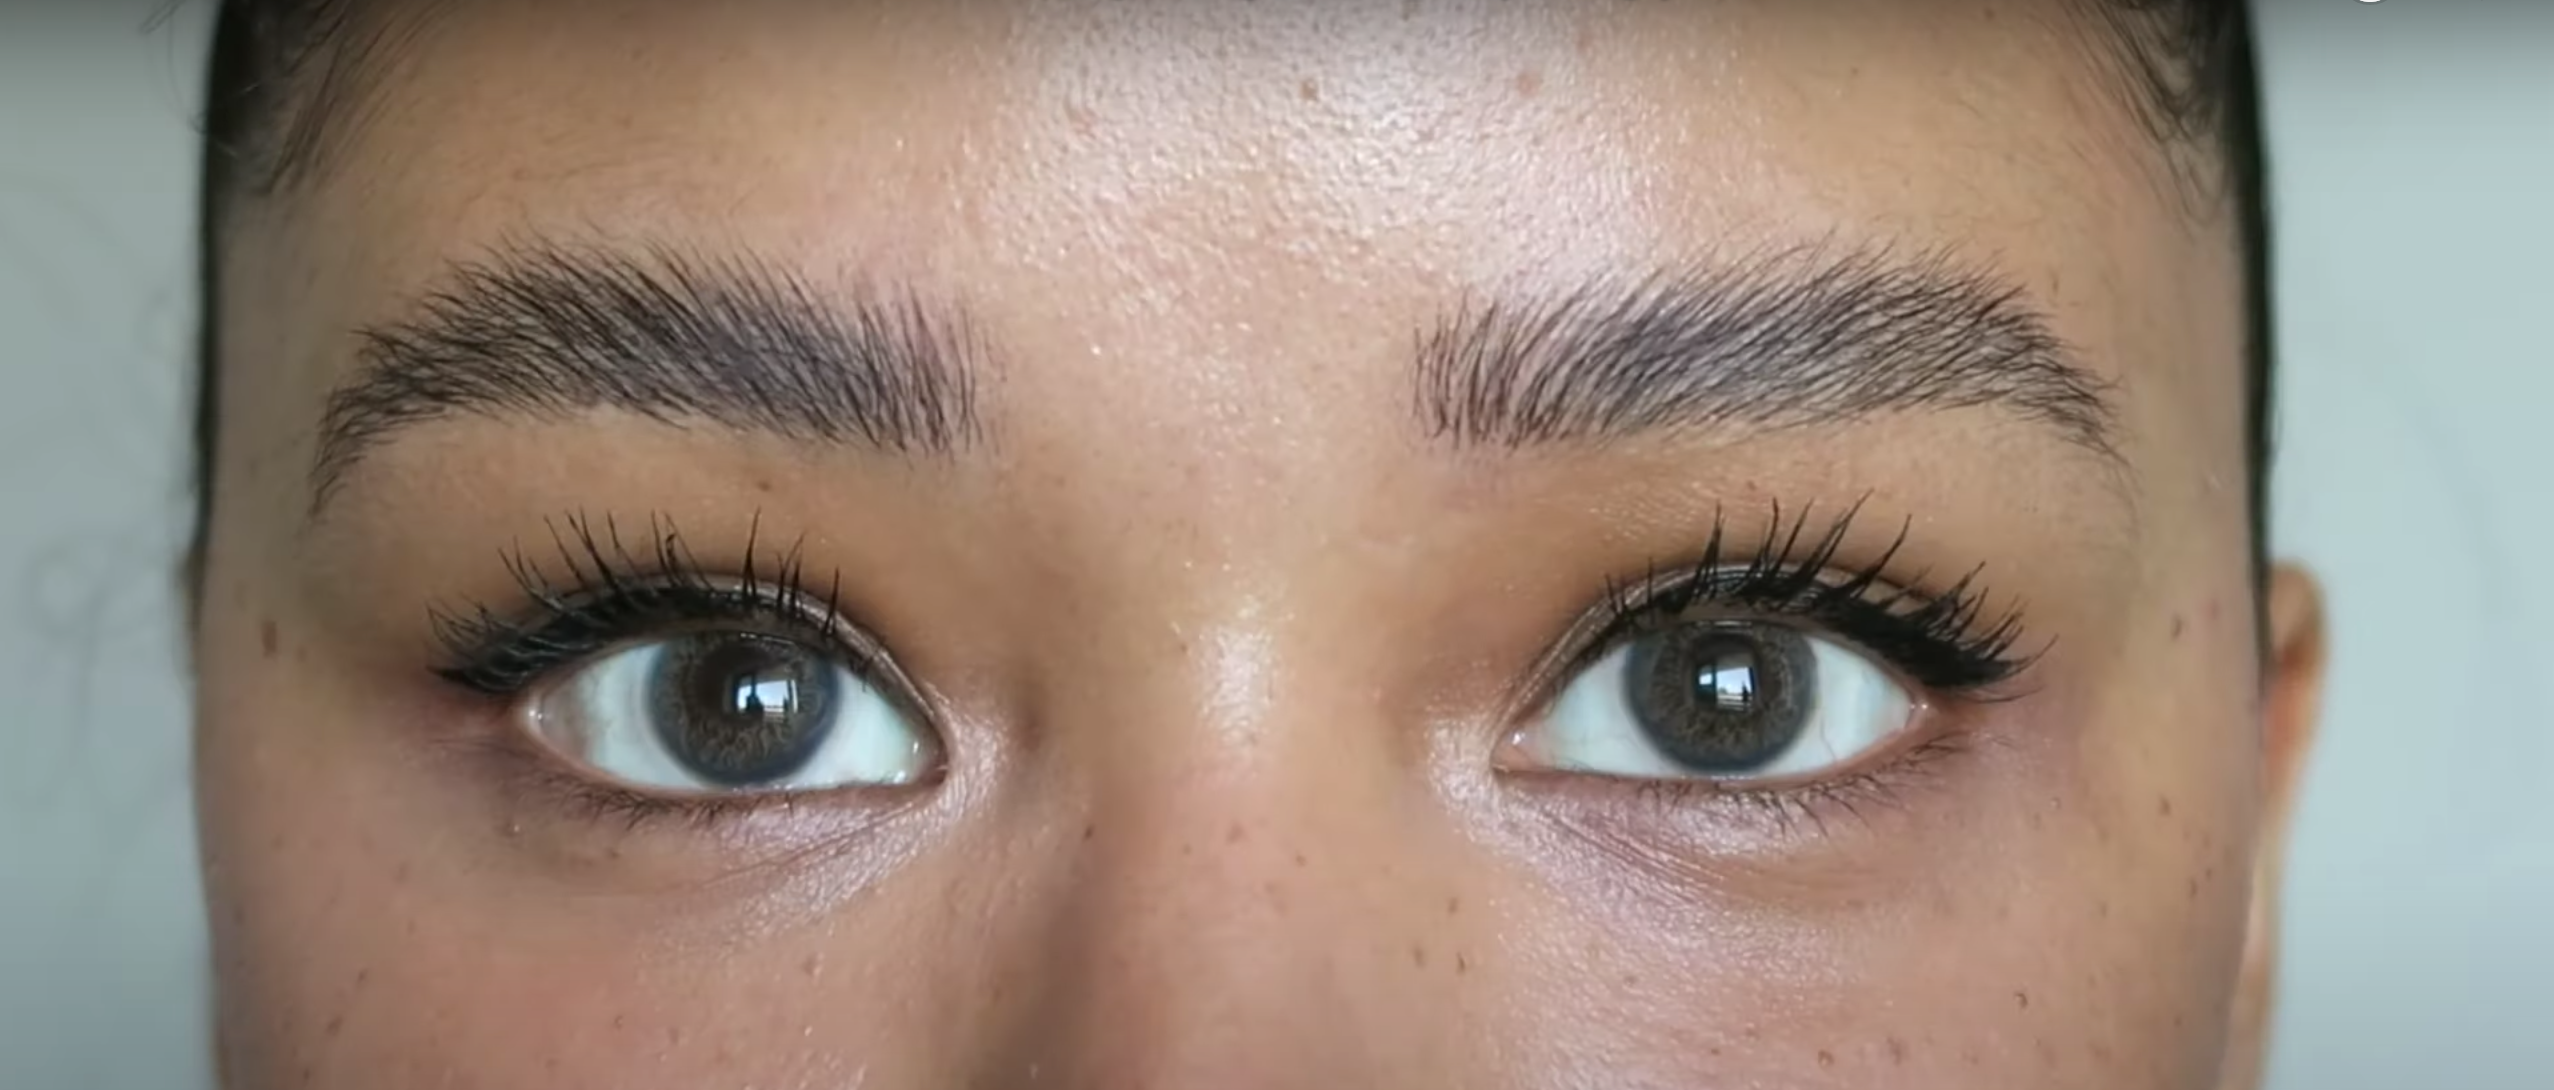
If like me you've been adoring other people's fluffy laminated eyebrows, you've come to the right place! This is my step-by-step, easy-to-follow, at home brow lamination tutorial. I'm showing you how to do the treatment yourself and everything you'll need to do it at home. This how-to tutorial is also available in youtube video format at the bottom of this page.
DISCLAIMER
Please be careful when you're doing this treatment and also read all of the instructions within the kit you are using. If you are not confident or do not have a steady hand it's best to visit a brow technician instead.
WHAT YOU WILL NEED
1 -A brow lamination kit OR lash lift kit
I use a lash lift kit by Iconsign which is available HERE and includes all the solutions (perm, fixation, cleanser, and nutrition), glue, and tools. Most lash lift kits and brow lamination kits contain the same products, so you can use either.
2 - Cotton rounds and earbuds
These are used for any cleanup needed
3 - Cling film (also known as saran wrap or plastic wrap)
This will be used to hold your eyebrow hairs in place during the process
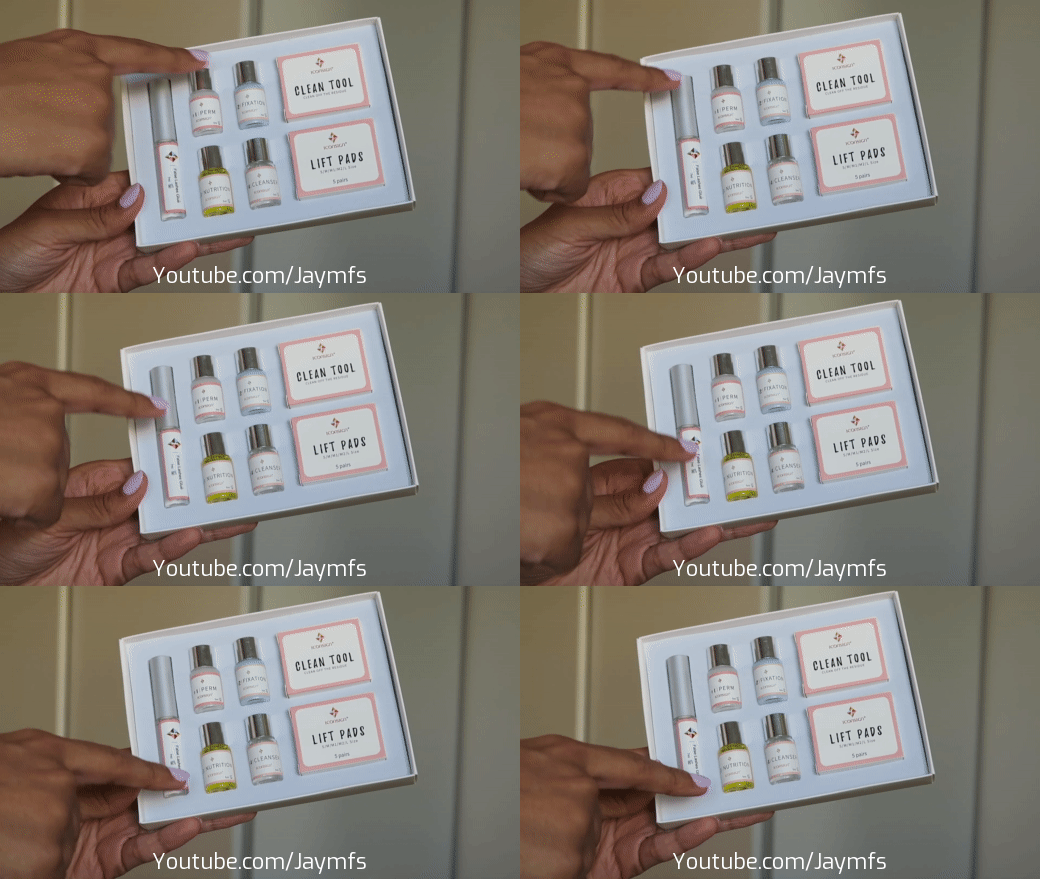
HOW TO DO A BROW LAMINATION AT HOME GUIDE
STEP ONE - Cleanse the area
Apply the cleanser to a cotton round and thoroughly clean your brow area. Then brush your hairs upwards into your desired position. Do not worry if they don't go all the way up right now, just aim to get them a big higher.

STEP TWO - Apply the perm solution
Apply the perm solution all over your eyebrows using a small applicator, making sure all the hairs are coated. Whilst you're doing this try to push your eyebrows up into your desired position.
Once you have applied the perm solution, cover your brows with the cling film and set your timer for 5 minutes or the amount of time your kit recommends.
Half way through at 2:30 peel off the cling film and use a small spoolie brush to brush your eyebrows up into your desired position. They will be far easier to position and style now as the perm solution has started working. Once brushed cover them with the plastic again for the remaining time.
Once the time is over, clean off the remaining solution using the flat side of the Y brush or a cotton bud. Afterwards use a slightly damp cotton round to make sure everything is removed.
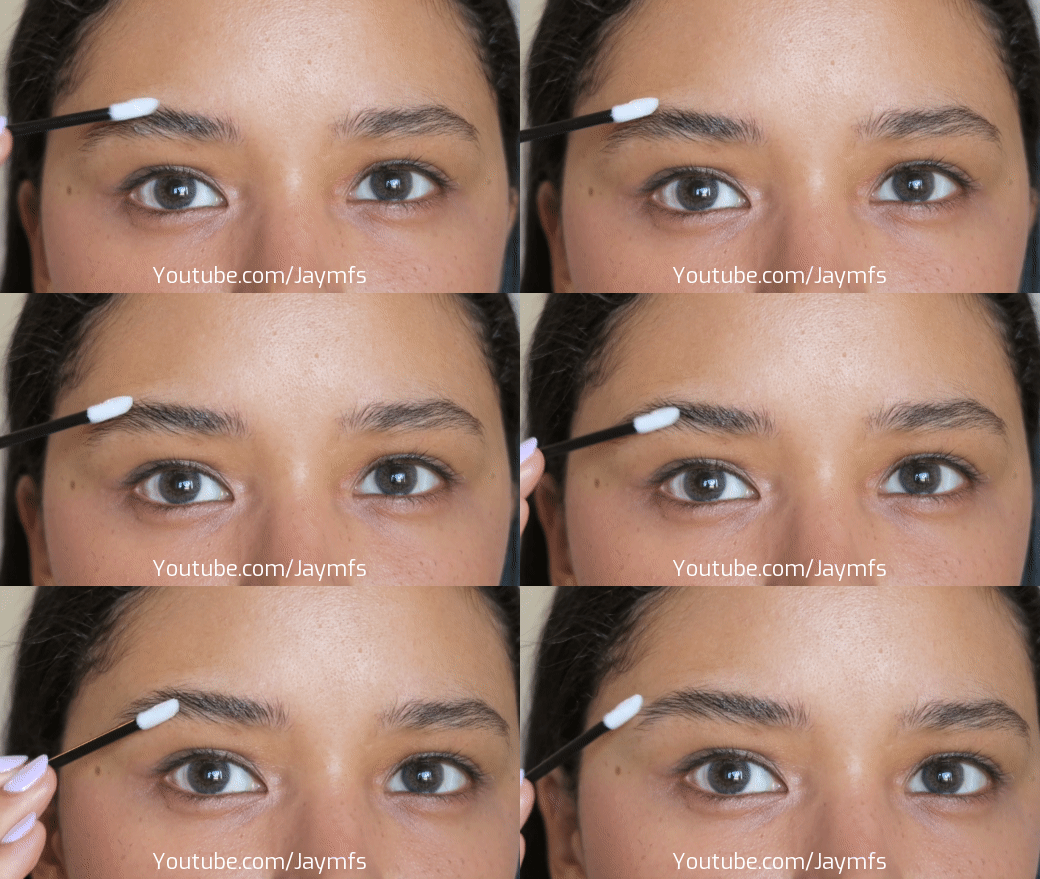
STEP THREE - Apply the fixation solution
Apply the fixation solution all over your eyebrows using a small applicator, making sure all the hairs are coated. Be sure to use a fresh applicator for this. Whilst you're doing this push your eyebrows up into your desired position. They will be easier to style now.
Once you have applied the fixation solution go in with a small spoolie brush and brush your brows up into the final position you would like them to set in.
Once in position, cover you brows with cling film again (a fresh piece) and leave this on for 5 - 7 minutes, or however long your kit advises you to.
Once the time is over clean off the remaining solution using the flat side of the Y brush or a cotton bud. After use a slightly damp cotton round to make sure everything is removed.

STEP FOUR - Apply the nutrition solution
Using a cotton bud apply the nutrition solution all over your brows. Use a clean spoolie to brush the nutrition through your eyebrows. Leave this on for 5 minutes, or however long your kit advises.
Once the time is over, remove the nutrition solution with a cotton round.

BROW LAMINATION AFTERCARE
Here's what you need to know about caring for your eyebrows after a brow lamination:
- Do not get your eyebrows wet for at least 24 hours
- Avoid brow makeup for at least 24 hours
- Keep your eyebrows in a brushed up position. If you move them whilst changing or sleeping just brush them up again

VIDEO TUTORIAL
You can check out my video tutorial below for a demonstration of how to do this treatment, and I also explain everything else you need to know. This video includes before and after videos/pictures, aftercare advice and styling advice.
I hope you found this helpful! Please like and share this blog post or the video if you did.
Until next time, J xx


If you're interested in doing your own lash lift at home you're in the right place! Here's my easy-to-follow step-by-step home lash lift guide, which is also available in two Youtube video tutorials at the bottom of this post.
DISCLAIMER
Please be careful when you are doing this treatment, and read all of the instructions within the kit you are using beforehand. If you are not confident or do not have a steady hand it's best to visit a lash technician instead.
WHAT YOU WILL NEED
1 -A lash lift kit
I use a kit by Iconsign which is available HERE and includes all the solutions (perm, fixation, cleanser and nutrition), glue, and all the tools you will need.
2 - Cotton rounds and earbuds
These are used for any cleanups needed, and occasionally for application.
3 - Cling film (also known as saran wrap or plastic wrap)
This will be used to hold your lashes in place during the process.
STEP BY STEP HOW TO GUIDE

STEP ONE - Clean the area
Clean your eye area with some water to remove any dirt/dust, and make sure to dry the area after.
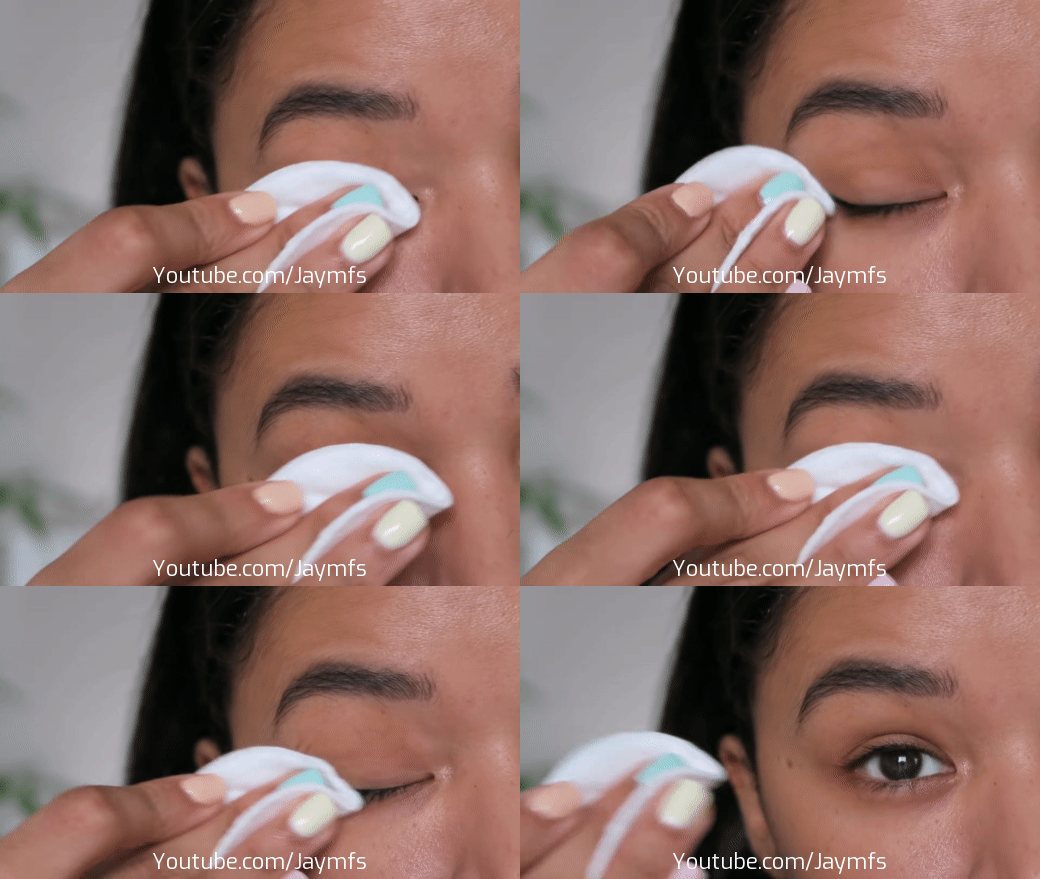
STEP TWO - Tape down your lower lashes
This is to keep them out of the way whilst you are perming the upper lashes. You can use the eye pads provided in the kit, or you can use lash tape which is available HERE.

STEP THREE - Stick the lift pad to your eyelid
After choosing which size lift pad you will be using, apply glue to the back and stick it to your eyelid.
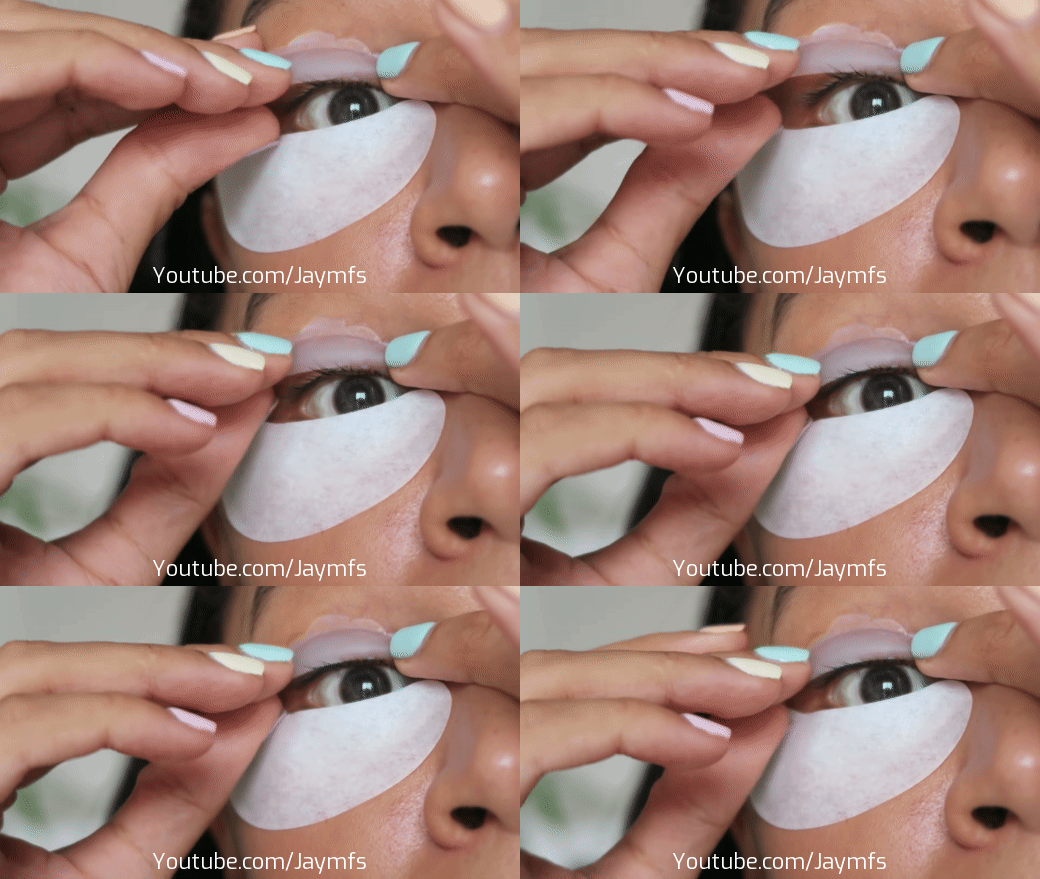
STEP FOUR - Stick lashes to the lift pad
Do this in small sections. First, apply glue to the lift pad. Once it has become a little tacky use a small brush (if your kit includes a Y brush use the comb side) and brush your lashes onto the pad so they stick to the glue. Aim to make all lashes straight and separated. See the second video at the bottom of this page (using the large lift pad) for my best example of this.

STEP FIVE - Apply perm solution
Using a small applicator brush apply the perm solution to your lashes. Focus the solution on the middle of your lashes, avoiding the roots (waterline) and the very tips.
Once applied cover your lashes with the cling film and leave the solution on for 8 to 10 minutes. Kits may vary, so please check the development times listed on your kit before application.
Once the time is over, clean off the remaining solution using the flat side of the Y brush or a cotton bud.

STEP SIX - Apply fixation solution
Using a small applicator brush apply the fixation solution to your eyelashes. Be sure to use a fresh applicator and apply the fixation solution to the same area you applied the perm solution.
Once applied, cover your lashes with cling film (a fresh piece) and leave the solution on for 8 to 10 minutes. Kits may vary so please check the development times listed on your kit before application.
Once the time is over, clean off the remaining solution using the flat side of the Y brush or a cotton bud.

STEP SEVEN - Apply nutrition solution
Use a cotton bud to apply the nutrition solution to your lashes. Once applied leave this on for 5 minutes, or for however long your kit recommends.
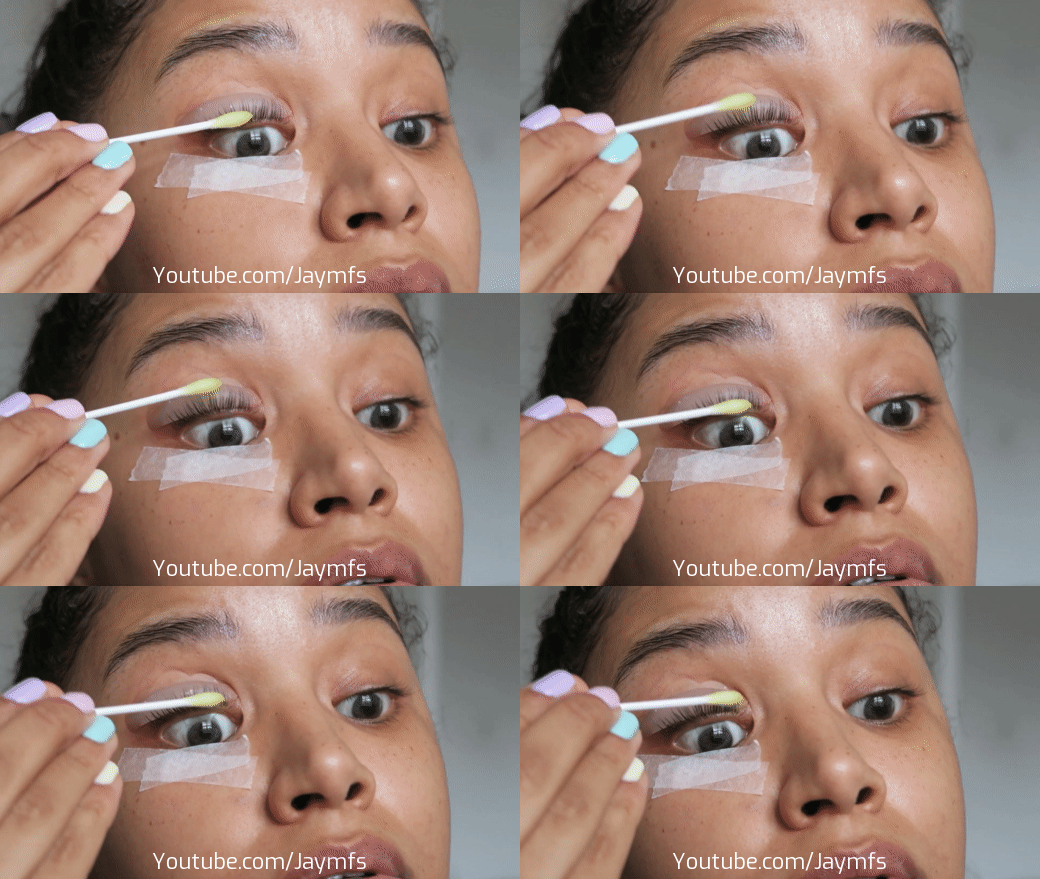
STEP EIGHT - Remove the lift pad
Using the cleanser and a cotton bud, remove the lift pad from your eyelid and lashes.

LASH LIFT AFTERCARE
Here's what you need to know about caring for your eyelashes after a lash lift:
- Do not get your lashes wet for at least 24 hours
- Leave your lashes alone and try not to sleep directly on them
- Avoid eye makeup for the first 24 hours
VIDEO TUTORIALS
I have made two videos on at-home lash lift kits that you can watch here. I recommend watching them both so you can see the application process and also see the difference between using a small and a large size lift pad. I have more experience in the second video so watch that one (using the large lift pad) for a clearer application demonstration, I also talk about what I regret about my first time trying in the first video.
My first lash lift (using the small lift pad)
My more experienced lash lift tutorial (using the large lift pad)
I hope you find this post helpful! Please like and share this post or the videos if you did.
Until next time, J xx
Subscribe to:
Posts (Atom)


Social Icons